I just finished n sent sent off a box of gifts for an advent calendar, so there won't be pics for a while.
I'm starting on family christmas gifts, so won'tbe posting pics of that, but there will be decoration pics, and maybe even a few holiday tutorials as the season draws nearer.
Friday, November 12, 2010
Monday, July 19, 2010
she'll have sea shells by the lake shore.

Made these for at her party on saturday to, had all the stuff on hand put it together in about 2 hours - it was deconstructing the ugly bag that was hard. there are 17 in total


Tuesday, July 6, 2010
the hippo is rockin' the tutu - but not for long
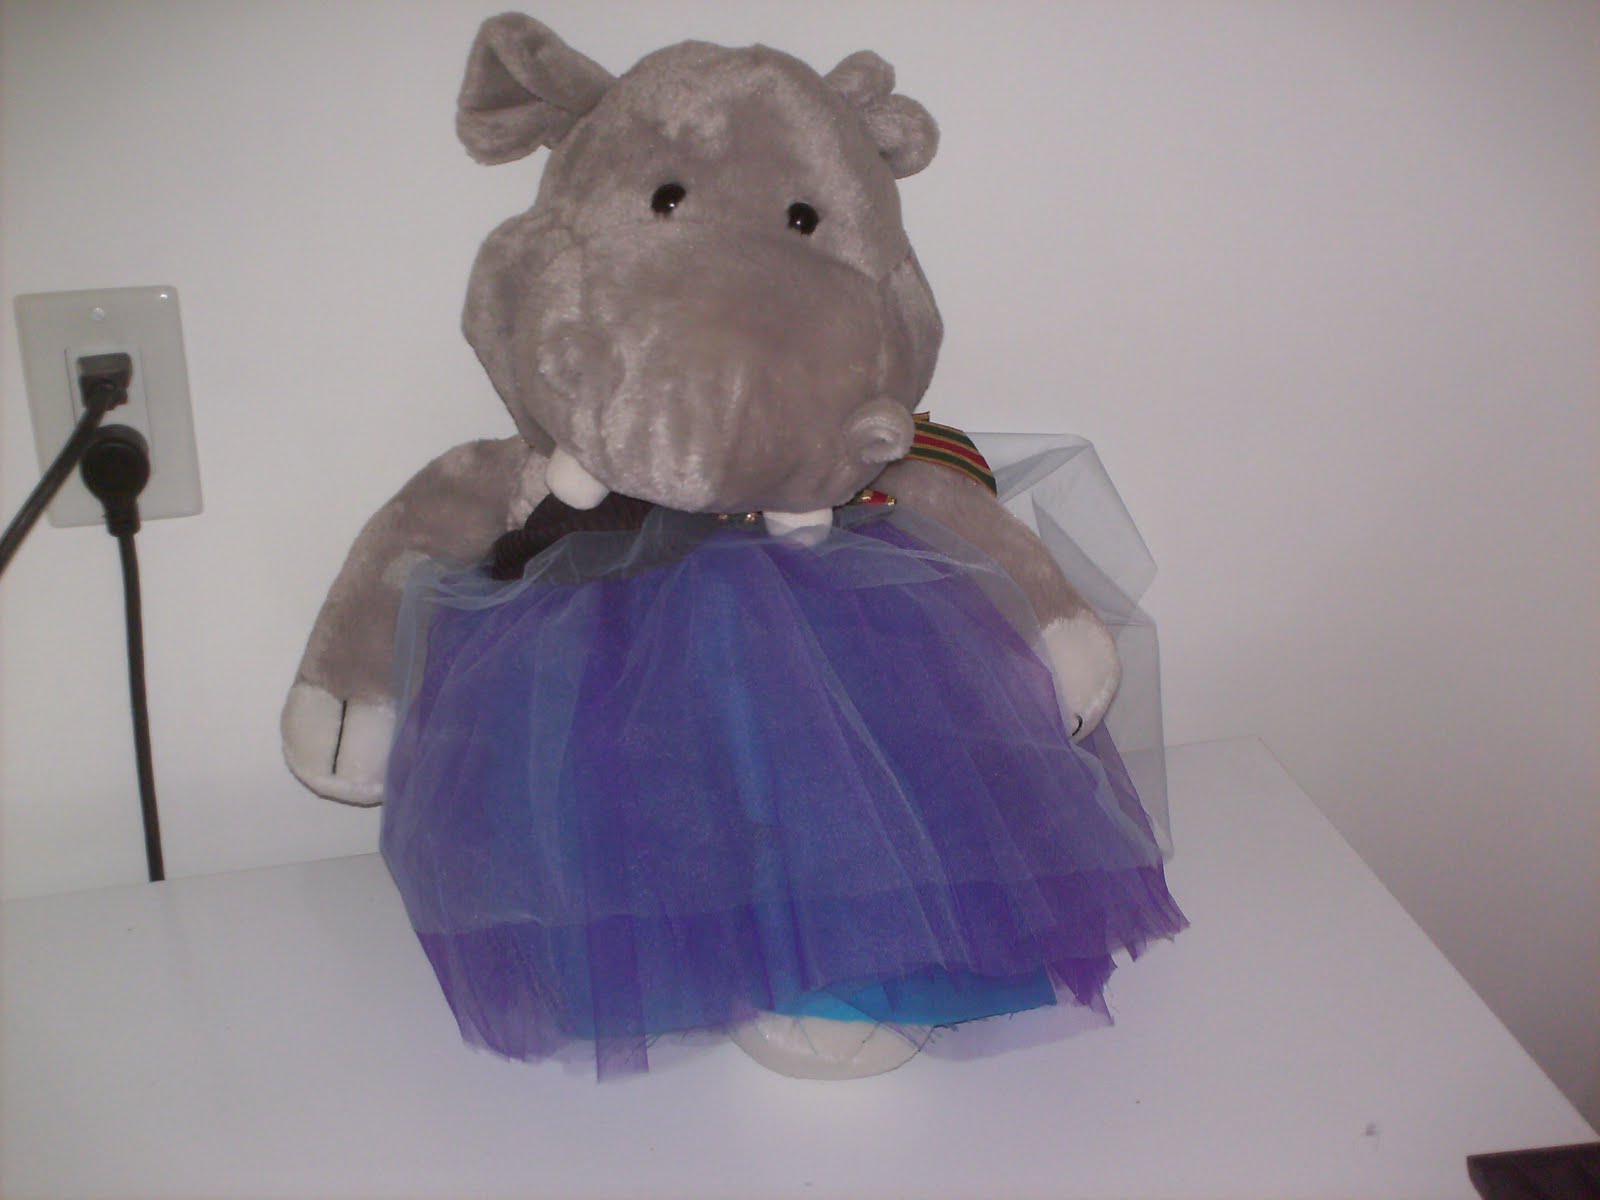
The princess dress wasn't poofy enouf for my liking so I made a tutu attached to shorts to be worn underneath. This gives the poofieness along with modesty and the ability to climb and play without showing off panties.
Island barbie princess dress

my inspiration

my version
My version is a knee length, and not totally complete yet, a few more finishing touches, and there will also be shorts. I made it so the front pink part stretches so it will fit for a while and can be added to the dress up box after her birthday. The blue swirls on mine were hand painted using glitter fabric paint.
Monday, July 5, 2010
new jammies coming right up.
my niece is outgrowing some fleece one piece jammies she got 2 years ago, and I had some leftover fleece from my sweater,

so I asked her mom if I should make her some new ones, the answer was yes. I couldn't find slipper sole fabric around here, so I made my own.

On a side note, I had made 8 piggies, possibly for a centerpiece for her birthday, but I am down to 6 that are still in tact, and 2 that need repair - thank goodness for glue.


Carmel got to them last night, but this morning he was so polite he showed me where he took it, I had to set him up with another one, it was just to cute to watch him licking and pawing it.


Carmel got to them last night, but this morning he was so polite he showed me where he took it, I had to set him up with another one, it was just to cute to watch him licking and pawing it.
Saturday, July 3, 2010
island princess

nopw, we're not living on an island, we aren't even visiting an island, but the theme of my nieces 4th birthday party is Island barbie princess.
I will be making:
2 dresses - one princess Rosella, one Princess Leah, for the birthday girl and her sister to wear.
1 Princess Rosella crown, necklace, clip on earings,
I also decided to make a pair of island barbie sandals - of course if I can find some inexpensive white runners I'll be decorating them to. Here's what I have so far:
 the straps are all stretchy, so she should be able to put them on by herself.
Tuesday, June 29, 2010
"piggy backs"
My niece is crazy about pigs, she's also excited about the first camping trip of the year with the whole family (grampa and gramma, auntie, mommy, daddy, little sis, and their dog Zoey -- ssshhh, she claims if Carmel (our cat) can't come, niether can Zoey, we'll deal with that issue another day. For the moment though she's got a bag full of goodies she wants to bring - even some outfits that if I offer them to her she gets mad and tells me they can't be worn until the camping trip. So I figured she needed her own bag, well with the scraps from the new vinyl curtain in our R.V, I was able to make these 2 little bags, she's going to paint pigs, flowers, and butterflies on them this week, until then you can imagine how they will look, here's a picture of their current state (yes little sister gets one to.)

The large one has a zipper closure and a wather bottle holder, the small one has a velcro closure.
 The inside of the small one
 The inside on the small one
Tuesday, May 25, 2010
Ready for the pool, but when will the pool be ready for us?
I was told that niece #1 outgrew her swimsuit, she got new ones for at home and camping, and to make it easier we had one here for her last year too, well since she's been asking me to set up the pool since the snow melted, I figured I better make sure she has a new swimsuit for at our house. Last year a friend of mine gave me about a meter of swimwear material. Using her old swimsuit as a patter, I created this, and of course niece #2 will have a matching set. Sorry for the ugliness of the doll, but the ensemble just wouldn't hang properly on the hanger.

I have some really nice soft fluffy yellow fabric that will make some cute after swimming dresses, but then I saw somebody use a towel, for $1.25/towel I got two dresses, not I know what I'll do and what I won't do when I make them out of the nice fabric that I have. In the meantime these ones match their swimsuits.

Two beach ensembles for under $5.00!
Monday, May 24, 2010
craft alongs
Well I joined a few craft alongs over at craftster , here's a list of which ones I joined
50 projects in 2010; I've done 15 but am going for 50 from my starting date.
Frugalong - how much stuff can I make with inexpensive materials, we'll see...
De-stash - how much stuff can I make without buying more supplies? I do have A LOT of crafting stuff and the goal is to have an empty craft cupboar in December, I'll keep you posted.
Tuesday, May 4, 2010
Beach Theme scrapbook photbox and frames
I belong to a club that has secret pals every month and at the first meeting of the month we
reveal who we are to our parter. My partner for April will be renting a beach house this summer and spending some time there with her family, so I created a "beach fun" themed gift including a bag, a matching towel, some toys, and the photobox.
Ignore the dates on the photo's, I forgot to reset the date on this camera.


Wednesday, April 28, 2010
quilts and shams
I finished the 3 quilts for the camper along with matching pillow shams that hold the quilt when not in use, and a large matching bag to put all 3 sets in. It took me about 3 weeks from start to finish I think. The large size quilt was hardest, but I like them all, and now am making the sheet sets (the beds are in an R.V and are not standard size so I am customizing some sheet sets that I picked up for $5.00.


Pillow case with quilt folded inside. The bow at the end of each diagonal ribbon.


All 3 quilts stored in their pillowcases. This is the large, all the quilts look the same.
The large is just larger than the other.
They are made to fit beds that are the following sizes:
54"x88" (large quilt) - the bed above the drivers and passengers seat.
40"x75" - the dining area that turns into bed
36"x75" - this is yet to be built.
Saturday, April 24, 2010
Altered clip board
Yesterday was RSA day here for teachers, a day of fun workshops. I took an iphoto workshop in the morning and learned some fun stuff about altering photos and taking better photos (don't use a flash), in the afternoon I took part in a workshop in which we got to create altered clipboard. The coordinating colour choices were precut and ready to go, so we were able to finish our clipboards in about an hour and 15 minutes while chatting with other teachers about how this project could be done in a classroom setting with students. here is mine.

Saturday, April 10, 2010
doubles into quadruples and sixtuplets!

Yesterday I made a LOT of progress, got all the singles sewn into doubles and then got the doubles sewn into quadruples.

The sixtuplet sets (8 of them) are sitting on the ironing board waiting to be sewn and ironed.
Today's plan is to get the sixtuplets completed, and start putting the 60"x80" quilt top together.
Friday, April 9, 2010
singles into doubles.
The quilt is well on it's way, I completed all single blocks and have now completed putting the singles together to form doubles, next is quadruples. Hoping to get this done before the weekend is through because then I'll be working with my dad vacumming walls to prepare for painting in the new house.
Wednesday, April 7, 2010
Cut on the diagonal...
I finished cutting all of the half square triangles today, perhaps tomorrow I will get them pressed, then it's time to pin and begin sewing the blocks together. I'd like to get the tops finished by Tuesday. I picked up the quilt backings today, so once the tops are done I will go and get the batting.
Tuesday, April 6, 2010
96 HST blocks in one day, on a role
Yesterday I cut all of the blocks - 96.
The exact numbers were as follows:
A = 28 ; 10.5" blocks
B = 44 ; 10.5" blocks
C = 24 ; 10.5" blocks
Then I sandwiched them right sides together as follows:
A - A = 7
B - B = 11
C - C = 8
A - B = 14
B -C = 8
Then I drew a diagonal block through the center of each block, and stitch 1/4" from either side of the line.(example below) Next I will cut them apart and iron them (probably won't get to that step until Friday)

shhh. 4.5 weeks to craft a mother's day present
Luckily, mom doesn't read my blog;) As an effort to buy NO new crafting supplies or fabric, I am using what I have, luckily I had some coordinating stuff, 3 beige patterns that are all floral prints in varying sizes and colours. The plan is to make 3 quilts, 2 that are 60"X80" and 1 that is 80"x100" for our R.V, we will be redoing the interior in a brown/tan print so the bedding will coordinate with the interior - even though it will be folded and put away during the day. 1 week for each step I suppose:)
April 6th - 12th : main part of quilt tops
April 13th - 19th: borders on all quilt tops
April 20th - 26th : putting backing on all quilts
April 27th - May 4th: quilting the top/batt/back together to avoid bunching of the batting.
May 5th - May 6th: Make matching pillow cases
May 7th- May 8th: Wash, iron, fold, wrap
Friday, April 2, 2010
washed the chair cushions!
Well I spent part of today washing the cushions for the dinette chairs, pretty dirty, but got the job done, just waiting for them to dry off now, a few stains but they should smell clean and not have dust in them anymore. Not sure when I will attemp the upper bed cushions, they are much larger.
Wednesday, March 31, 2010
easter...
The pants that were going to be for ST. Patty's regrettably did not get finished, with camping season coming up though, these corduroy pants will be cute and warm, no pics until after the girls get their outfits though. Perhaps even a tutorial will be coming your way!
Sunday, February 21, 2010
Sunshine and Summer Time
It's only February, I know, but it's so sunny that I thought I would get these projects that have been in the back of the craft cupboard since last summer finished.


A little repurposed sundress, I cut the old worn out straps off the tank top, took it in on the sides, made arm "holes", and added ribbons that tie up for straps. The smocking is shirred so it will stretch. The embroidery was on the shirt already and I added a jeweled stud for some added sparkle. If you want to make a similar dress, here's the basics

materials -
old t-shirt preferably with some fun design elements
ribbon to coordinate
child's measurements
'pattern' from above (you need to draw your own based on pattern info)
blunt needle
fray check(optional)
Step 1: create pattern and cut fabric (use the bottom of your t-shirt as the bottom of skirt to avoid hamming the dress)
Step 2: Shir or smock top portion of front
Step 3: put front and back right sides together and stitch side seams
Step 4: around top and arm holes use a zig zag stitch (or serger) to create a rolled hem
Step 4: pin ribbon along back leaving long tails and stitch it on - don't forget to backstitch. stitch along top and bottom edge of ribbon
Step 4: pin ribbon along back leaving long tails and stitch it on - don't forget to backstitch. stitch along top and bottom edge of ribbon
Step 5: pin two lenghts of ribbon to the inside top edge of front, stitch them on so they are secure
Step 6: cut all ribbon edges on an angle to prevent fraying, edge with fray check if you like
Step 7: You're done!
Tuesday, February 16, 2010
Time to Clean...
Once again The Hobbit Hole is a mess, I'm hoping to have it nice and organized by the end of the week, so probably won't have much crafts posted, but there are a few coming, stay tuned...
Friday, February 12, 2010
Ready-Set-Activity Book Creativity - page 1
Making this page is pretty simple and fun!
On your metal sheet, using acrylic paints, paint a background.
I first painted the whole sheet blue, waited until that was dry, sponged on white clouds and painted green grass, once that dried I added a brown road and a tree.
Once your scene is painted, you'll need to seal it with a clear gloss or varnish, this will wait until a nice warm sunny day, at my house.
Set the metal sheet in a safe place to await final assembly...
Thursday, February 11, 2010
The book is done!
26 pages, plus a title page, took me 10 months of on and off work and it's now completed! Here are a few pictures for you to enjoy. I'm working on 2 smaller activity books, those will include tutorials so stay tuned for those in the near future.


Saturday, February 6, 2010
Ready-set-Activity Book Creativity
I am beginning page 1 of the personalized activity books for my nieces, if you wish to take part and make on yourself, here's what you will need for our first page:
-8" x 8" sheet of metal (an old cookie sheet, or magnetic story board book will work)
-Acrylic paints
-Spray on sealer
*Clean the metal sheet so there is no glue/sticky stuff on it
*Paint the sheet with a light coloured acryllic paint (this will work as primer)
Stay tuned for designing the actual page for the book.
Saturday, January 30, 2010
Drafting patterns, plans to sew, - aka a little girls request
Not wanting a 1 meter piece of fabric to be chopped up and glued to paper, I told my niece what the fabric was going to be for, (valentines shirts), she said that would be much better, and that I have to make 2 shirts (always thinking of her baby sister of course!), so I am working on a new pattern and meshing a few styles together to create a pretty top - in fact 2 pretty tops with only 1 meter of fabric - tank tops don't work it's a little chilly for that still.
Sunday, January 24, 2010
ABC quiet book, features painted

I started working on this book in May of 2009, set it aside in October, and got back to work on it now, when I started the plan was for my nieces to share, well plans change, and I'm keeping this one which they will get to play with at my place, and each of them will get their own smaller quiet book for their house/truck. Next step is to iron the pages... I'm kind of worried about that with all of the different elements. The patterns where from a book called "ABC quiet book" from the 1970's. The books I will be making for the girls will be from my own designs so stay tuned for patterns and instructions
Friday, January 22, 2010
Repeat pattern fabric = new game

I love making games, I even did a self directed study on the use of games in a childs learning, I learned a lot and so did the kids. One big hit with kids is memory, so I used some fabric I had and created this game.
And here's the how to:
Materials :
a)repeating pattern fabric
b)heavy cardboard - slightly larger than fabric
c)modge podge or white glue
d)rotary cutter, mat, and straight edge or exacto knife, mat, and straight edge
Directions
1)Cut your fabric into one big piece, iron it so there are no wrinkles or creases


3) Place fabric onto modge podge and smooth out, make sure there are no lumps or bubbles

4)Let it dry overnight
5) coat with another layer of modge podge or white glue (sorry no photo for this part)
6)When completely dry, use a rotary cutter/exacto knife and a straight edge to carefully cut apart.
7)Find a container for storing the pieces
8)Have fun playing!
Wednesday, January 20, 2010
Nieces first birthday outfits
My niece just turned one, so since I tend to make a holiday outfit for just about every occassion, this was no exception, so I made a complete set for the birthday girl, and a matching top for her 3.5 year old sister.

Pants pattern is just a basic 1 pattern piece pant, shirts are storebought and embellished. Crown was made using 2 layers of fabric with a layer of felt sandwiched between.
To make crown:
select fabric, cut into a crown shape, place on felt and cut the felt to the same size, sandwich it all together and stitch with a zigzag stitch. Add velcro to both ends so the crown is adjustable for the child. Find a princess , or a prince and crown them with birthday glory!
Saturday, January 16, 2010
reusable shopping bags
With another one of my frequented stores charging for bags, I decided it was time to use some of my fabric stash, and make some bags. The fabric has been in my stash since at least 1999, has completed 3 moves, hightime it is used. Tutorial for the bags and photo's when they are completed.

Tutorial:
Cut 2 pieces of fabric 16"x19"
Put wrong sides together and sew 3 sides (leaving 1 short side open) with a 1/4" seam
now turn it inside out, press and sew the same 3 sides again with a 1/2" seam.
Cut 1 piece of fabric 4"x24", fold right sides together and sew with a 1/2" seam long edge and one short edge. Turn the tube to right side and cut in half
Pin the handles in place hanging outside and towards the bottom on the open end of the bag, fold top edge over 1/2" and repeat with a 2nd 1/2" fold, sew in place - I used a 5/8" and a 1/4" hemming stitch for added durablity.
Subscribe to:
Posts (Atom)
